Research Blog #2
- kehe3676
- Feb 22, 2021
- 3 min read
Updated: Apr 12, 2021
How to make a glitched image in Audacity!
Pre-directions: Have Photoshop and Audacity downloaded.
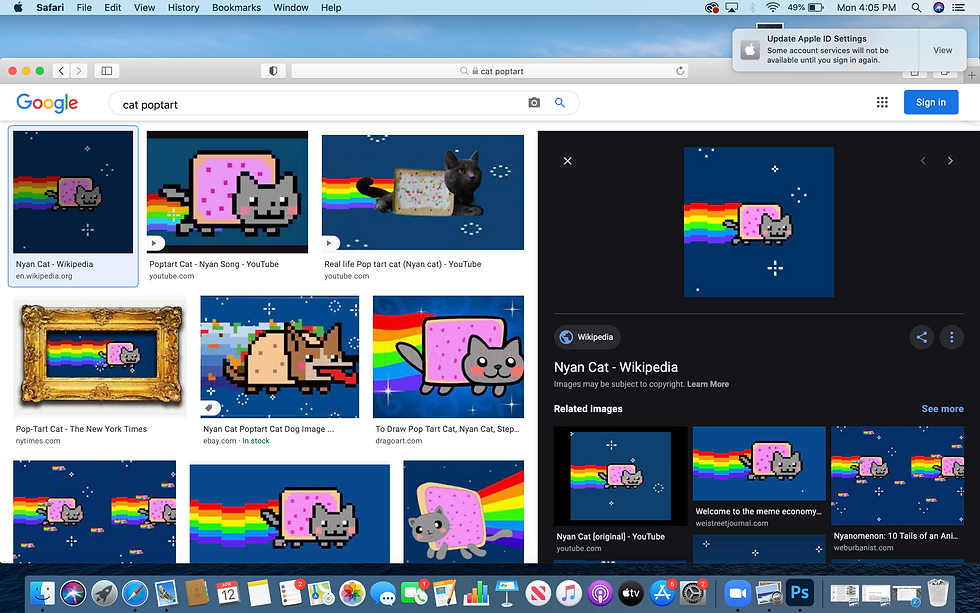
1. 1st things first- do a google search and find an image you find inspiring or just plain enjoy! Save it to your desktop.

2. After you get your image, take it into photoshop. Once you hit the photoshop application hit open and select the image you picked out.


3. Next go to file and hit the save as menu. When the menu pops up with how to save your image, pick save as TIFF.

4. When the next menu comes up after save as TIFF, then for pixel order put per channel, image compression as none.

5.Now that you’ve saved your image as a TIFF, this is where the fun begins! Open up Audacity in your applications.
6. Now go to file and hit the import icon. Select raw data to import and pick your tif file.
When the next import raw data screen comes up with encoding, Byte order, channels, etc.

7.Please select the following: for encoding select U-Law. Byte order should be Little-endian and channels should be mono.

8. Now that you have the import done, time to play!
9. Select a certain section of the recording by clicking and extending out. Do not try and select the header- the file will almost certainly break! See the highlighted section( light blue 15.0-17.0) is where it was clicked.

10. Once you have selected a certain section of file, go to effect and pick one out.

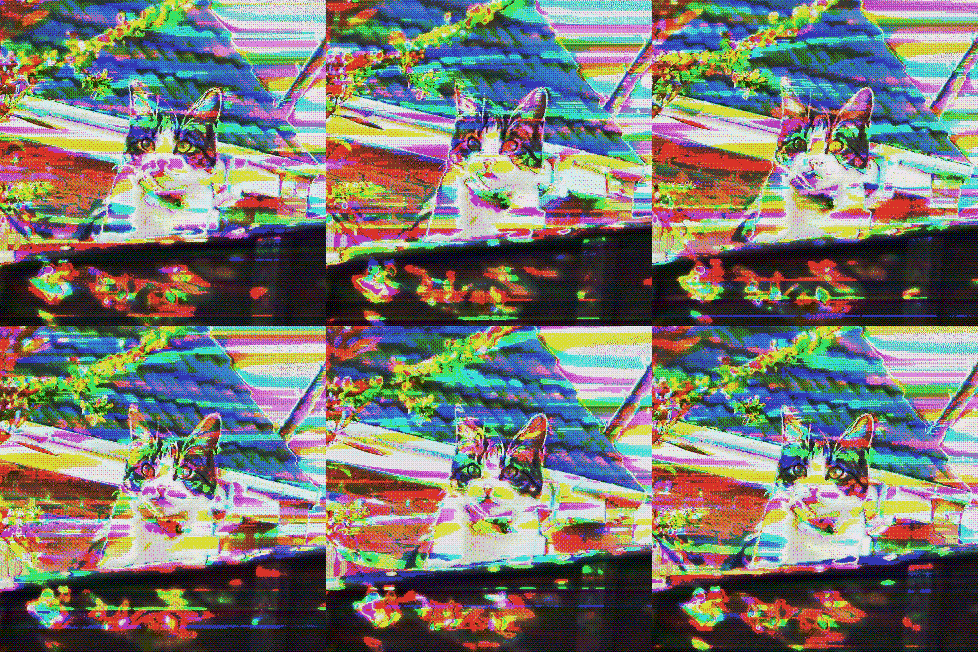
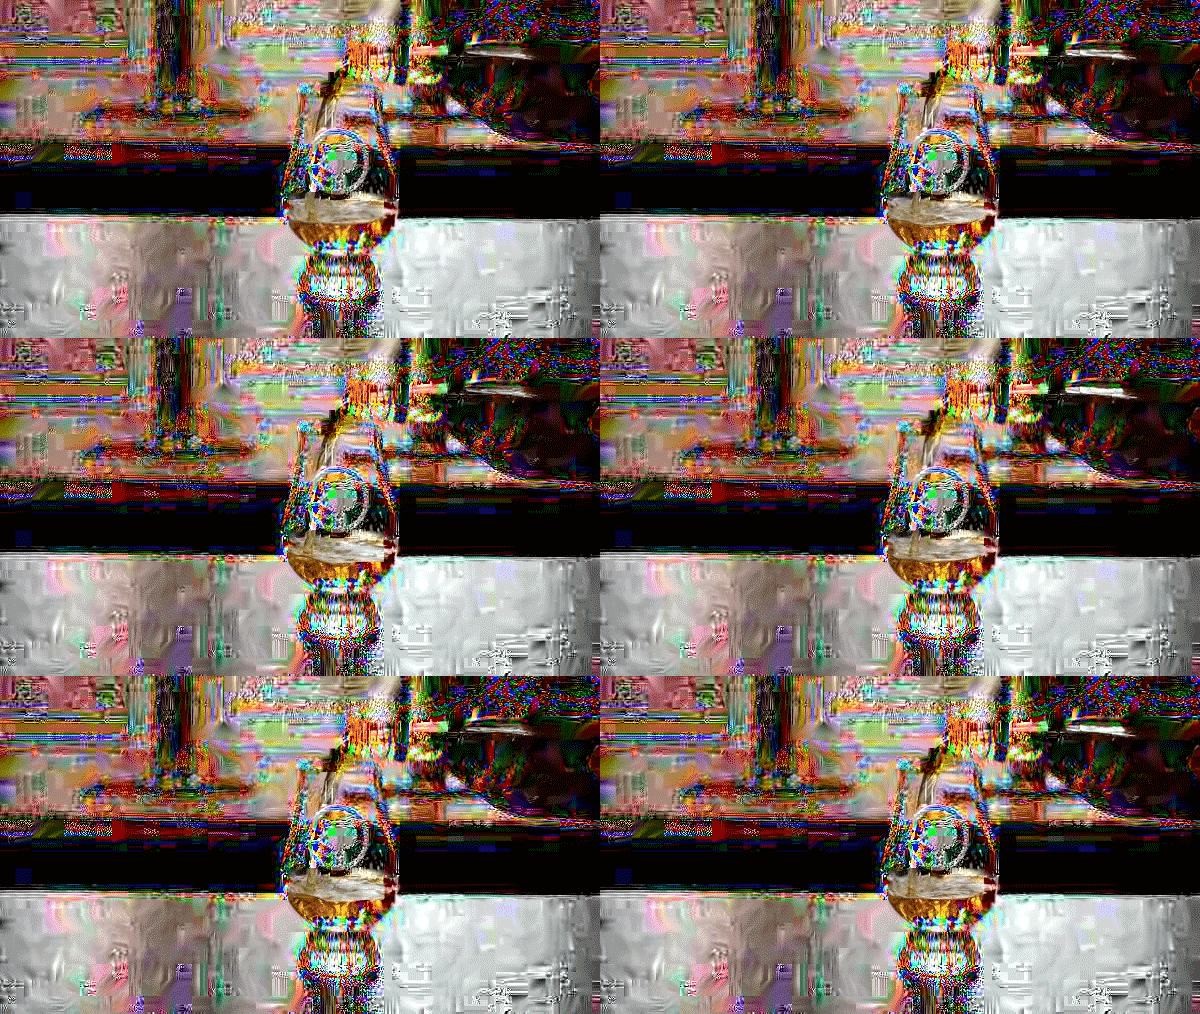
11. Once you have an effect done on the image- I recommend exporting the image to see if it can be previewed or is too broken to be looked at.
12. To export, go to file and hit export. Then hit export multiple.

13. When the export multiple menu pops up, for format have it set to other uncompressed files, for header have it set to RAW (header-less). Then for encoding have it set to U-Law.

14. If the file breaks after picking one out, don’t worry you can go back to audacity and hit edit and you will see undo at the top with whatever effect you have chosen( for example undo phaser).

15. Have fun and play with it till you get the image you want!

How to make a GiF:
1. Go look for an image online or maybe you have an image that you already want to work with. Save whatever image you choose to your desktop.

2. Open up photoshop and hit open to open to view the image you picked out.

3. Now go to window and hit workspace. In workspace, hit timeline, where you will see a panel pop up on the bottom.

4. On the bottom where the timeline shows up, click the arrow to the right of the words in the panel and make sure it says create frame animation.

5. Click the + sign that is to the left of the trash can icon on the timeline panel.

6. Once you have the frame how you like it/ or maybe you keep it just the way the photo started out. Then click the + sign again.

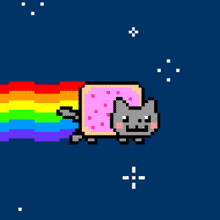
7. This is where you add another layer on your layers panel, which is far right- it shows the pop tart cat layer. To add a layer you click the plus sign to the left of the trash can. It says layer 1 on the right underneath layers.

8. Now you can change the layer- color on it write some text. Make sure you have selected the 2nd layer that is blank- this will allow you to change the blank layer and keep your original layer with the pop tart cat intact.

9. Now if you want your first layer to remain looking like the original pop tart cat layer, click on your first frame of your gif ( in the timeline section) and then go over to the layers panel( right side). Where it shows the layer visibility- the little eye icon tight next to the mini image of the layer in the layers panel- click on it. This will turn off the visibility of layer 2 ( the drawn on layer). Then go to your next frame and turn the visibility of the drawn on layer (layer 2) on. This will create a gif or motion effect, as it jumps from frame to frame.


10. Keep adding layers with the little plus sign. Remember for each coloring or additions you need another frame, especially if you want to get more of a motion effect. Now you can change this frame up and color, add a filter, have fun. Keep doing this till you get a gif you like.
11. Make sure your layers are only visible/ turned on ( eye icon next to layer) in the frames you want them to be.
12. Once you’re ready- go to file, save as and save it as a gif.


Comments